Managing roles
Create roles to organise users and control access to content
What are roles?
Roles are labels you assign to users to control what content they can access. For example:
- Member - Basic registered users
- Premium - Paying subscribers with access to exclusive content
- Partner - Business partners with access to specific resources
You can create as many roles as you need and assign multiple roles to each user.
Accessing role management
- Open the edit page of your directory
- Click
Accessin the menu bar - Select
Rolesfrom the access menu
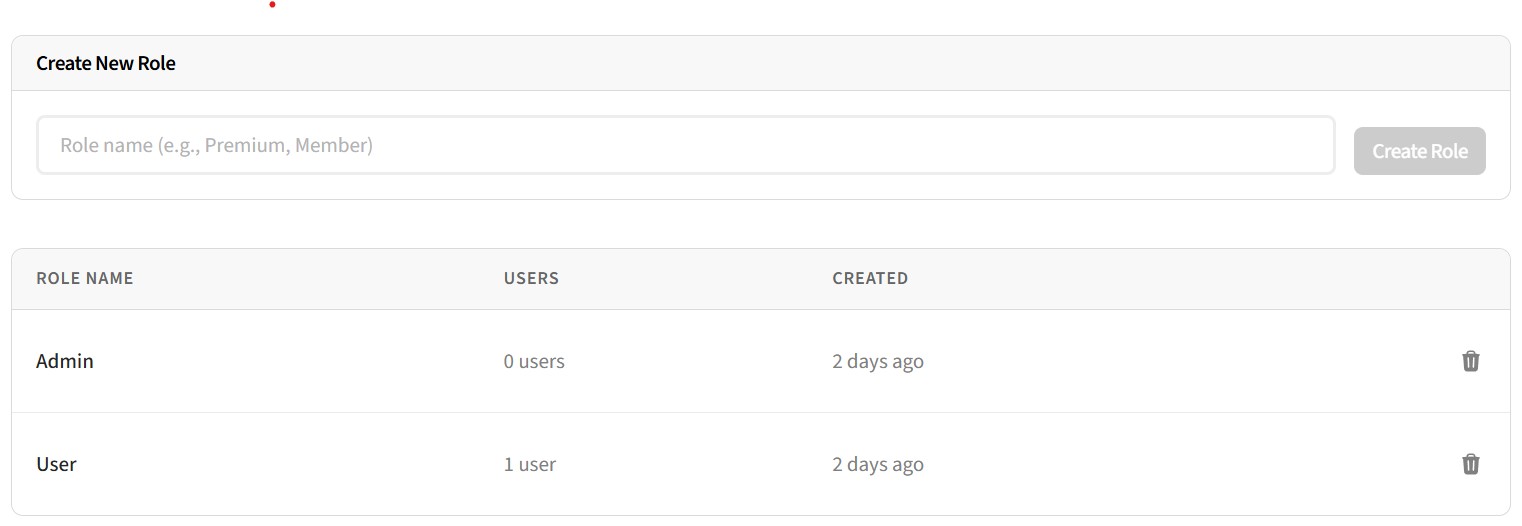
Creating a new role
- Click the
Add rolebutton - Enter a name for your role (e.g., "Premium", "Partner", "Staff")
- Click
Saveto create the role
Role names should be short and descriptive. They'll be visible when managing users and content access.
Deleting a role
- Find the role in the roles list
- Click the delete button
- Confirm the deletion when prompted
Warning: Deleting a role removes it from all users who have it. Content restricted to only that role will become inaccessible until you update the access settings.
Using roles for access control
Once you've created roles, you can use them to restrict content. Set default role requirements on the private access page, then override individually on any listing, category, or page.
Assign roles to users in Access > Users to control what each user can access.
Example setup
Here's a common configuration for a membership directory:
- Create a Member role for basic registered users
- Create a Premium role for paying subscribers
- Set the default registration role to Member
- Keep most content public or accessible to Members
- Restrict exclusive listings or pages to Premium only
Related guides
- Managing users - Assign roles to users
- Managing private access - Use roles to restrict content