Monetization settings
Configure payment providers and currency settings to accept payments on your directory
Overview
The monetization system allows you to charge for listings, for featuring listings, and for registering accounts.
In a nutshell, this is all driven by Products which you can add from the monetization section. Before you create products though, you need to configure your payment provider and currency settings.
Accessing monetization settings
- Open the edit page of your directory
- Click
Settingsin the menu bar - Select
Monetizationfrom the settings menu
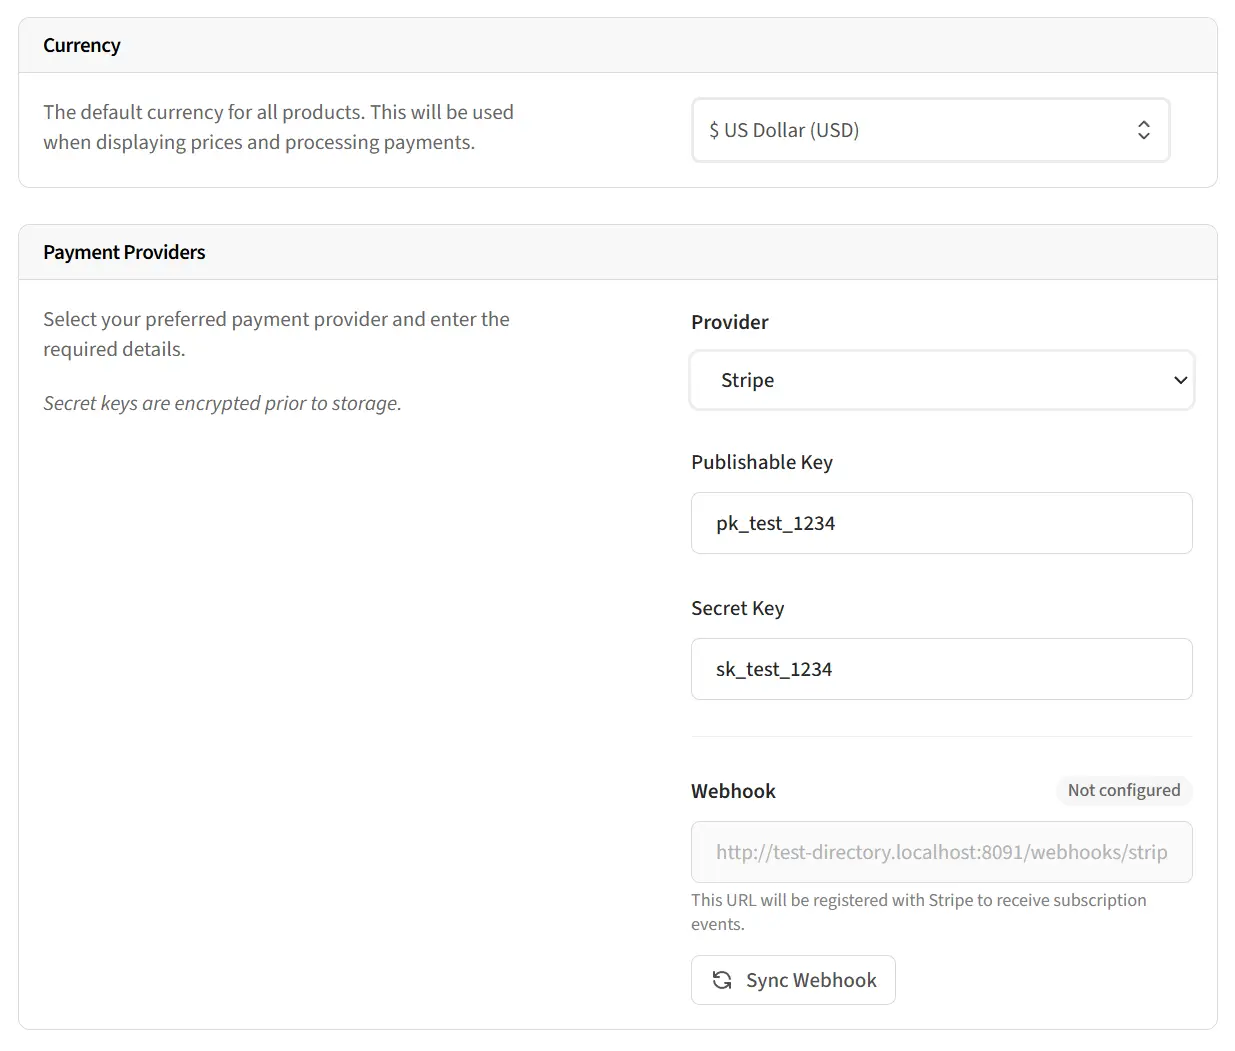
Setting your currency
Choose the currency you want to use for all products. Supported currencies include:
- USD - US Dollar ($)
- EUR - Euro (€)
- GBP - British Pound (£)
- CAD - Canadian Dollar ($)
- AUD - Australian Dollar ($)
- RON - Romanian Leu (lei)
- PHP - Philippine Peso (₱)
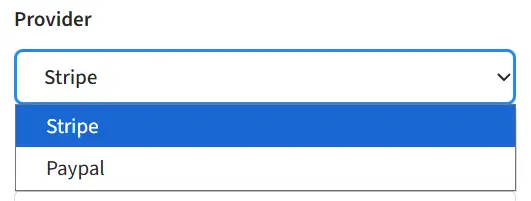
Choosing a payment provider
Two payment providers are supported:
- Stripe
- PayPal
Select your preferred provider from the dropdown. You can only have one active provider at a time, but switching providers is possible.
Configuring Stripe
To use Stripe as your payment provider, you'll need API keys from your Stripe dashboard:
Getting your API keys
- Log in to your Stripe Dashboard
- Navigate to
Developers>API keys - Copy your Publishable key (starts with
pk_) - Copy your Secret key (starts with
sk_)
Entering your credentials
- Paste your Publishable key into the corresponding field
- Paste your Secret key into the corresponding field
- Click
Saveto store your credentials
Test vs Live mode: Stripe provides separate keys for test and live modes. Use test keys (starting with pk_test_ and sk_test_) during development, then switch to live keys when ready to accept real payments.
Configuring PayPal
To use PayPal as your payment provider, you'll need API credentials from PayPal Developer:
Getting your API credentials
- Log in to PayPal Developer
- Navigate to
Apps & Credentials - Create a new app or select an existing one
- Copy your Client ID
- Copy your Secret
Entering your credentials
- Paste your Client ID into the corresponding field
- Paste your Secret into the corresponding field
- Select the Mode - Sandbox for testing or Live for production
- Click
Saveto store your credentials
Sandbox vs Live: PayPal provides a sandbox environment for testing. Use sandbox mode and sandbox credentials during development, then switch to live mode with live credentials when ready.
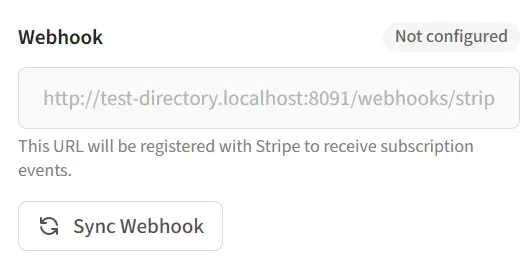
Setting up webhooks
Webhooks allow the payment provider to notify your directory about payment events (successful payments, subscription renewals, cancellations, etc.). This is essential for keeping payment and subscription statuses synchronised.
How webhooks work
When a payment event occurs (e.g., a subscription is cancelled), the payment provider sends a request to your directory's webhook URL. Your directory then processes this event and updates the relevant records automatically.
Automatic webhook setup
After saving your API credentials, click the Sync Webhook button. This automatically:
- Registers a webhook endpoint with your payment provider
- Configures the webhook to listen for relevant events
- Stores the webhook credentials securely
Webhook URLs
Your webhook URLs are:
- Stripe:
https://yourdomain.com/webhooks/stripe - PayPal:
https://yourdomain.com/webhooks/paypal
Events handled
Stripe webhooks process these events:
customer.subscription.created- New subscription startedcustomer.subscription.updated- Subscription status changedcustomer.subscription.deleted- Subscription cancelledinvoice.paid- Payment received (including renewals)invoice.payment_failed- Payment failed
PayPal webhooks process these events:
BILLING.SUBSCRIPTION.ACTIVATED- Subscription activatedBILLING.SUBSCRIPTION.CANCELLED- Subscription cancelledBILLING.SUBSCRIPTION.SUSPENDED- Subscription suspended (payment issue)BILLING.SUBSCRIPTION.EXPIRED- Subscription expiredPAYMENT.SALE.COMPLETED- Payment completedPAYMENT.SALE.REFUNDED- Payment refunded
Switching payment providers
If you need to switch from one payment provider to another:
- Go to
Settings>Monetization - Select the new payment provider
- Enter your API credentials for the new provider
- Click
Save - You'll be redirected to the Products page with a warning to sync products
- Click
Sync Allto create products in the new provider
Note: Existing subscriptions in the old provider will continue until they expire or are cancelled. New purchases will use the new provider.
Related guides
- Managing products - Create and configure payment products
- Viewing payments - Track payments and subscriptions